RSS

Monthly Archives: April 2014

Buttermilk Biscuits

When my husband asks me to make him breakfast of course I jump on the opportunity.  With our different schedules it is rare that I can make him a good homemade breakfast.  Not to mention I could eat breakfast every meal of the day I love it!!! So on this particular morning Matt asked me for biscuits and gravy.  I found this biscuit recipe on Food Network Sandwich King, but of course I make some changes.  The key to good biscuits it not over mixing!  If you over mix your dough you will get flat and tough biscuits you don’t want that!!  Another important part of making biscuits is making sure all your ingredients are cold.  I like to cook my biscuits in a cast iron skillet it gives them this crunchy bottom that my husband loves.  If you don’t have a cast iron skillet you can cook them in the oven on a cookie sheet.

DSC_0008

Ingredients:

4 cups self – rising flour (plus a little more for dusting)
1 stick unsalted butter
2 to 3 cups cold buttermilk
1 tablespoon vegetable oil

** NOTE if you like more salty biscuits you can use salted butter,  also if you don’t have self-rising flour here is a substitute.

Self-rising Flour (Per 1 Cup)

1 cup all-purpose flour
1 1/3 teaspoons baking powder
1/3 teaspoons salt

Directions:

Preheat oven to 425 degrees F.  Place your cast-iron skillet into the oven to pre-heat as well.  Chill a large bowl, pastry cutter, and 1 stick of butter cut into 1/4 inch cubes in the freezer before making the biscuits.

Get everything out of the freezer and get ready to work quick!  Add the flour and the butter cubes to the bowl.  Using the pastry cutter (or a fork if you don’t have a pastry cutter)  mix the butter with the flour breaking the butter in smaller pieces.  The goal is to get the butter to be pea sized.

In about three batches add start to add the buttermilk.  Add buttermilk until the dough is cohesive yet moist.  You want it to just come together.  Turn the dough out onto a floured surface and light press into a 1 inch thick round.  Using a biscuit cutter, cut out enough biscuits to fill our cast-iron skillet.

DSC_0002 DSC_0003

CAREFULLY add the oil to the skillet.  I leave the skillet on my oven rack and pull the over rack out so I don’t have to worry about touching the top of the oven.  Place the cutouts into the hot skillet right up against each other and brush with melted butter.  Bake until golden brown about 15 minutes.

DSC_0006


We love these biscuits!  Eat them with gravy, as a sandwich, or just with butter and jam.  Gravy being my favorite way! I wish I could give you a precise gravy recipe, but I haven’t got it precise.  So next time I make gravy I am going to have my husband snapping pictures constantly so I can show sausage gravy!  It is coming!

Hope you enjoy!

~Cheers


1 Comment

Posted by on April 27, 2014 in Uncategorized


Tags: , ,

Chicken Paillard with Lemon Vinaigrette and Arugula

It is finally SPRING!  Now I am not one to wish winter away, but it seems like we have had an extremely long winter this year.  So yes I am glad winter is over and I am so happy spring is here!  When I think about it there is so much I love about spring!  My fresh herbs are starting to come back,  I have my succulents planted and the grass is finally turning green!  DSC_0002 DSC_0003 DSC_0004

What else do I love about Spring, cookouts, grilling, the food (of course), being about to spend evenings on the back porch, and last but not least… Texas Rangers Baseball!

The fruits and vegetables that come in to season in the spring just make me happy.  In the past couple of weeks I think I have eaten two pineapples and about 6 mangos,  oh and the kiwis you need to go get some now!  Spring also means summer is coming and that means shorts and swimsuits.  So the recipe I am sharing today is a quick easy chicken dish!  This is a spin on a grilled chicken salad.  Trust me as a person who eats a lot of salads in the spring and summer months I know that you can get bored with the same salad over and over again.  So change it up and try this one.

Chicken Paillard is simply a fancy term for a boneless chicken breast that has been pounded with a meat mallet until about 1/4 of an inch thick.  For this dish you can grill the chicken outside, or you can use a grill pan, or even sauté the chicken.  I use a grill pan when I make this dish because its quick and easy.

DSC_0784

For the chicken:

2 Boneless, skinless chicken breasts pounded to 1/4 inch thin
Kosher Salt
Freshly ground black pepper
2 Tablespoons grapeseed or canola oil

For the Lemony Vinaigrette

1 clove of garlic peeled and minced
1 small shallot minced
1 tablespoon Dijon mustard
1 tablespoon mayonnaise
1 teaspoon sugar
2 tablespoons champagne vinegar
Zest and Juice of 1 lemon
3/4 cup olive oil

4 cups arugula washed

For the croutons:

2 cups french bread cubed
3 tablespoons olive oil
salt and pepper

Begin by placing the chicken breasts between plastic wrap and pound them to about 1/4 of an inch thick.  Season the chicken on both sides with salt and pepper.  Heat the grill pan or your grill to medium high heat.  Coat the grill pan with oil and place the chicken onto the pan.  Cook the chicken for 2 to 3 minutes on each side.  If you try to pick it up and turn it before it is cooked it will stick to the pan so let it sit there and cook for 2 to 3 minutes before checking it.  The chicken needs to be cooked to an internal temperature of 165 degrees.  When your chicken is cooked remove it from the grill pan and let it rest on a plate.

For the Vinaigrette:

Place all of the ingredients except the olive oil into a large mixing bowl and whisk together until well incorporated.  While continuing to whisk, in a steady stream slowly add the olive oil.  The vinaigrette will start to thicken.  Season with salt and pepper.  Toss the arugula in the vinaigrette just before serving.

For the Croutons:

Toss the bread in the olive oil and season with salt and pepper.  Place on a cookie sheet and cook in a 350 degree oven until golden brown and crispy.  About 10 minutes.

To finish place the chicken on the bottom of the plate and top with a handful of dressed arugula.  Sprinkle with croutons and drizzle them with a little more vinaigrette.  Then enjoy!  This is a simple yet flavorful dish that is healthy at the same time!

DSC_0785

This dish would pair well with a crisp white wine like a Pinot Grigio or an un-oaked Chardonnay.

Here’s to healthy eating and the arrival of Spring!

~Cheers

 
Leave a comment

Posted by on April 13, 2014 in Uncategorized


Tags: , , , , , , , , , ,

Corn Agnolotti – My Husband’s Favorite Dish

This dish is absolutely delicious!!  I won’t lie to you it is a difficult and time-consuming dish, but trust me it is so worth it!  This is my husband’s favorite dish and I love cooking it for him.  I think he could eat this everyday if I let him! This is a beautiful dish that is sure to impress!

DSC_0115_2

Some equipment that will make your life easier:

A juicer.  This dish uses corn juice.  It is best to use fresh corn on the cob, it has the best flavor.  You will be cutting the corn kernels off the cob and running them through the juicer.  I have found that if you run the kernels through the juicer twice it will give you more juice!  No need to waste!

A pasta press.  One of my all time favorite things to make is pasta!  I love my Kitchen Aid stand mixer.  It comes with a pasta attachment that rolls out sheets of pasta.  It makes nice smooth sheets that will be crucial in this recipe! Plus if you get this attachment you can make your own spaghetti and fettuccine.  It is so much fun!

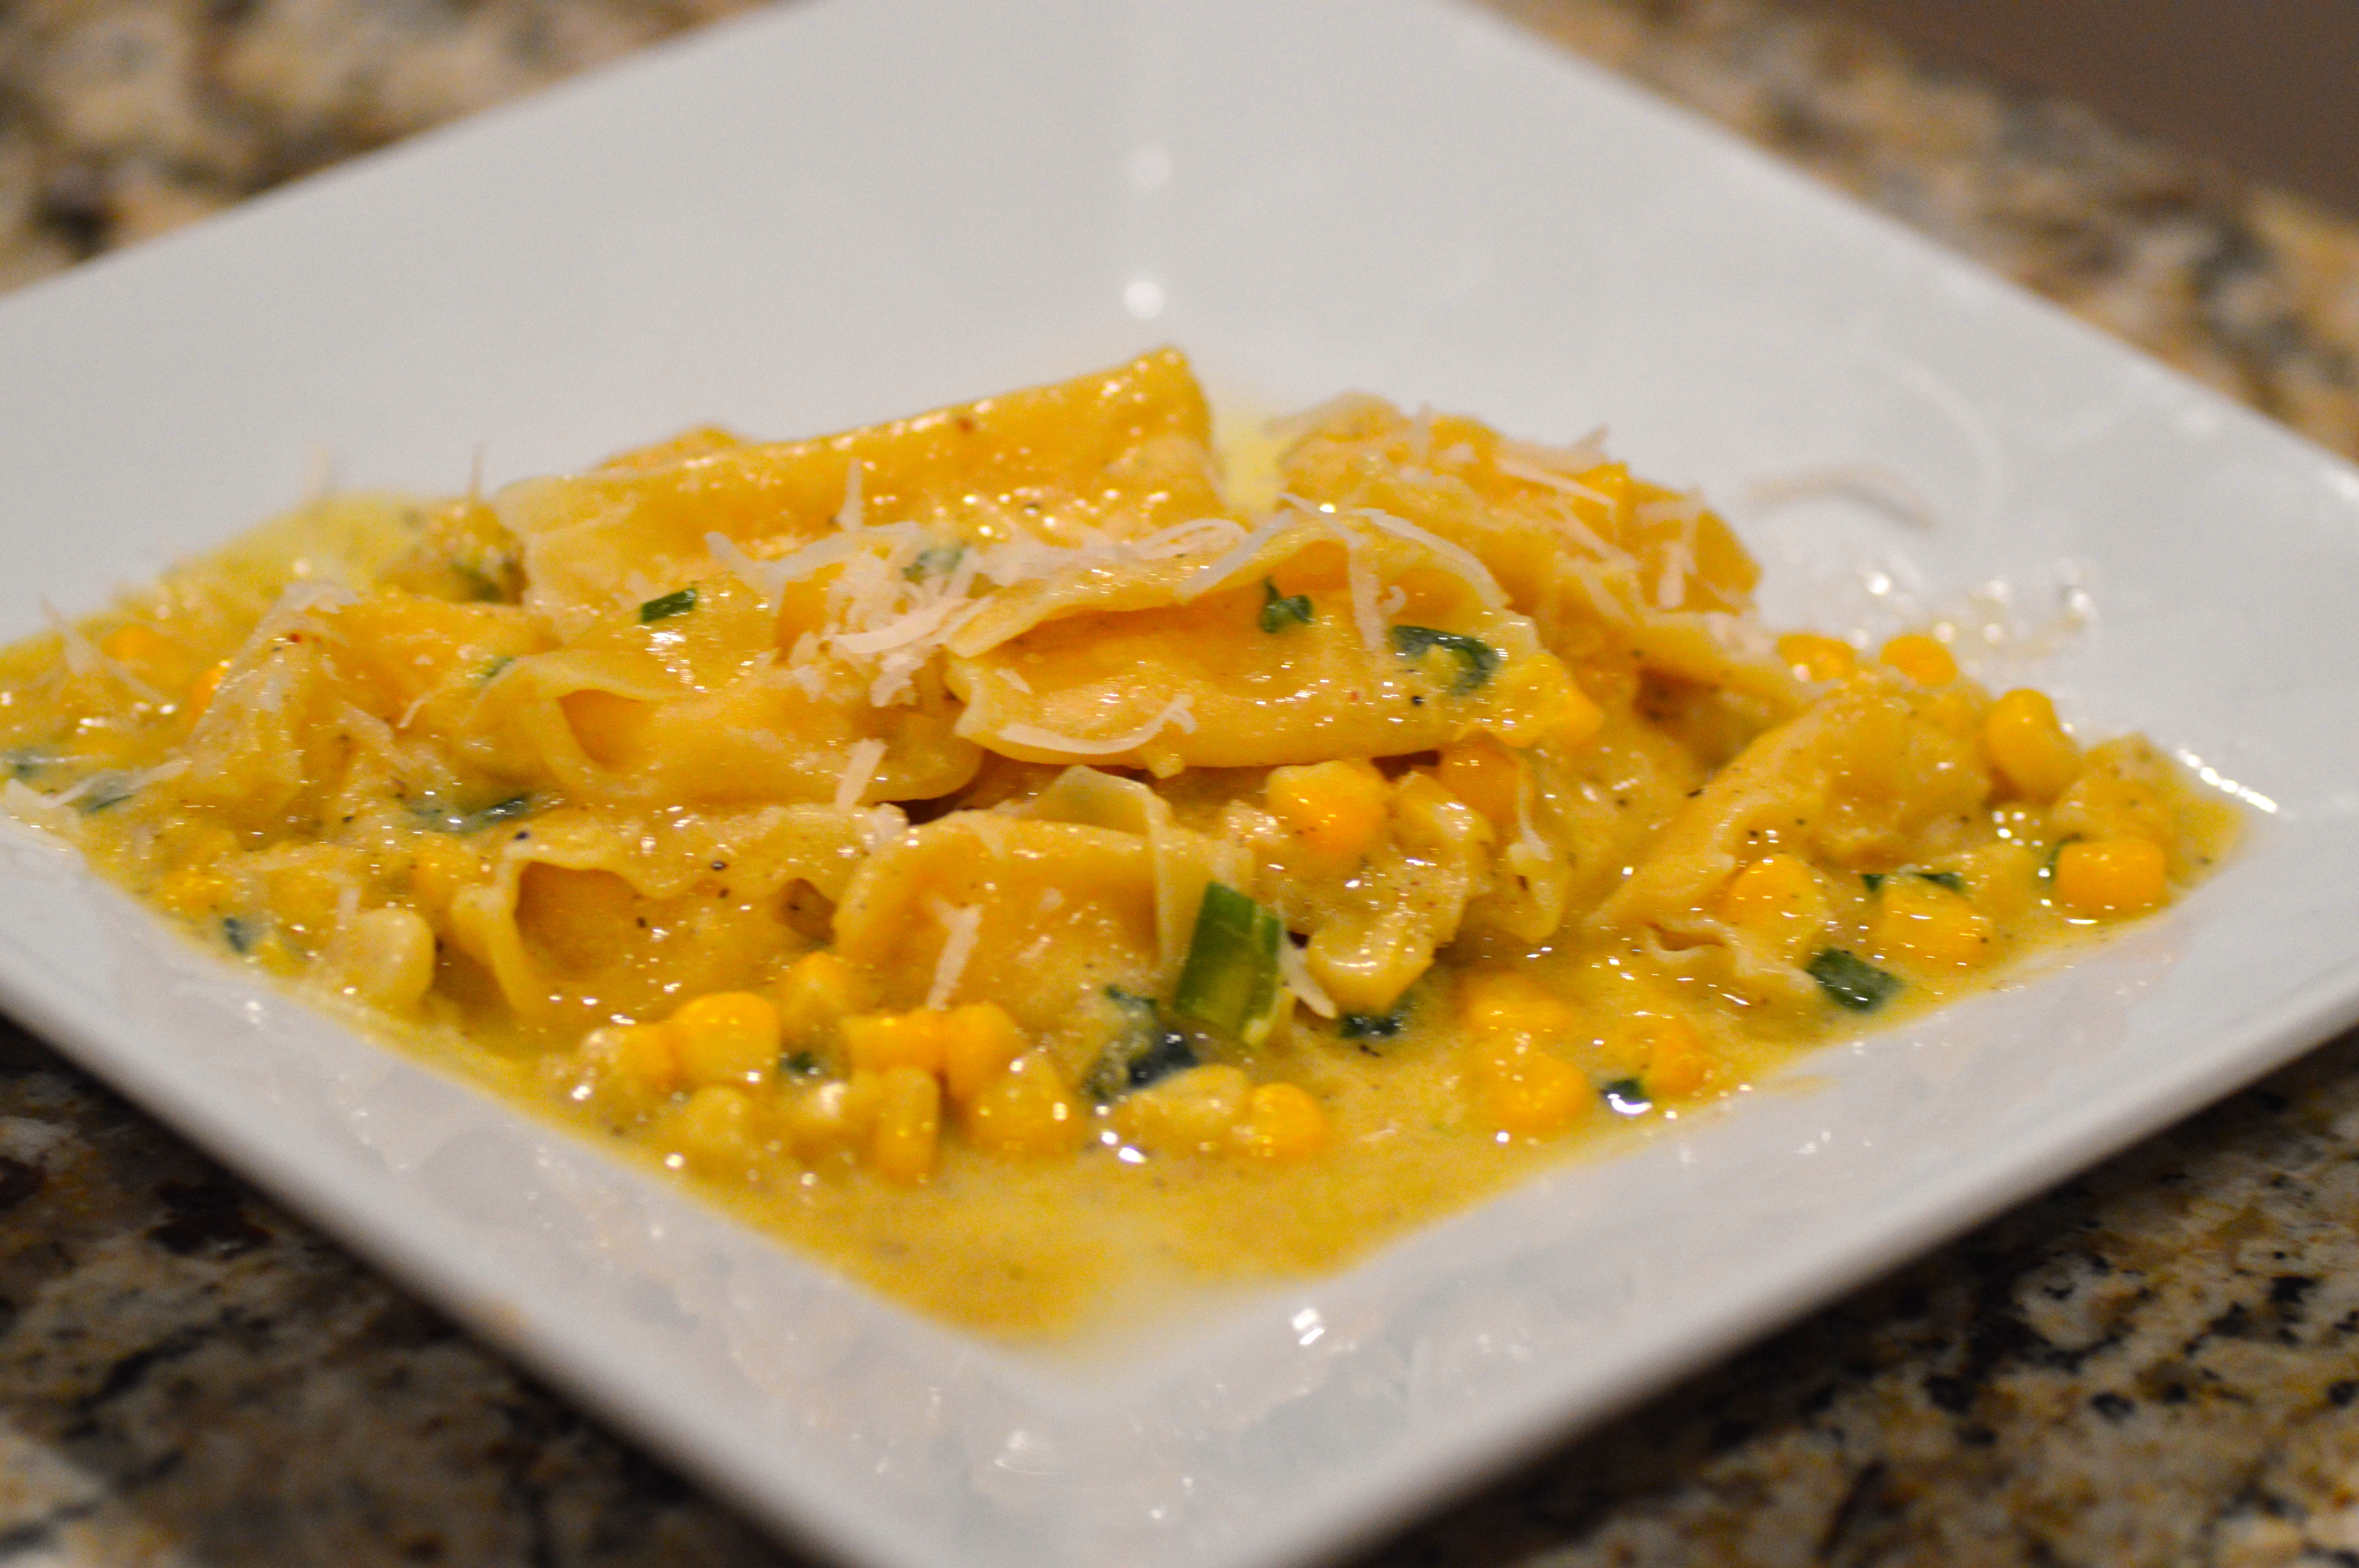
This pasta is filled with a polenta risotto mixture, and topped with a corn sauce.  Is your mouth watering yet?

Lets Get Started

This full recipe makes approximately 48 so feel free to half it if you need to!

For this recipe you will need 21 ears of corn.  Using a knife carefully remove all the kernels from all the ears of corn. Set aside 2/3 cup corn kernels.  Run the rest of the kernels through a juicer.  Again I have found you will get more juice if you take the pulp and run them through a second time.  Set the juice aside.

If you do not have a juicer simply put the corn kernels in a blender with just a little bit of water and puree.  Set a fine mesh strainer over a bowl, pour the liquid into the strainer and allow the juice to drain.  Press lightly on the puree to get as much juice as you can.

Pasta filling ingredients:
Polenta
3/4 cup vegetable or chicken stock
3/4 cup water
1/4 cup plus 1 tablespoon polenta
Risotto
1 cup vegetable or chicken stock
1 1/2 cups water
3/4 cup Arborio rice
1/2 cup mascarpone cheese (at room temperature)
8 tablespoons unsalted butter
1 1/4 cups corn juice

Pasta Dough Ingredients:
1 3/4 cups all-purpose flour
6 egg yolks
1 egg
1 1/2 teaspoons olive oil
1 tablespoon milk

Corn Sauce Ingredients:
2 cups corn juice
4 tablespoons unsalted butter
2/3 cup corn kernels
2 tablespoons minced chives
1 teaspoon white truffle oil (more to taste)
salt and pepper to taste

Parmigiano Reggiano to finish

Directions:

For the pasta:

It is important to make the pasta first so that it has time to rest before rolling it out.  When making pasta I like to use my largest wooden cutting board so that I don’t make a huge mess.  Mound the flour in the center of your work surface.  Make a well in the center of the flour.  Make sure the well is large enough to hold all the eggs.  Pour the egg, egg yolks, milk and oil into the center of the well.  Using either a fork or your fingers start to mix the liquid in a circular motion gradually pulling in more flour as you go. Using a pastry scraper start pushing the flour into the liquid mixture.  When the flour is incorporated start to knead your pasta dough with your hands it will look flaky at first.  If it is so dry that you cannot get it to form a ball add a teaspoon of water to help moisten all the flour.  Let the dough rest for about 5 minutes.  Knead the dough for another 15 minutes until the dough is smooth.  Double wrap the pasta with plastic wrap and let it rest in the refrigerator for at least 30 minutes no longer than one hour.  Make sure to take your pasta out and let it come to room temperature before rolling.

For the Polenta:

Bring the stock and the water to boil in a sauce pan.  Whisk the liquid and pour in the polenta while continuing to whisk.  Bring to a simmer.  Turn the heat to low.  Cook the polenta, stirring occasionally for approximately 20 minutes.  When it is cooked it will form a ball and will have no raw cornmeal taste.  Keep warm over very low heat.

For the Risotto:

Bring the stock and water to a simmer in a sauce pan.   Spread the rice in one layer in a separate wide sauce pan.  Add 1/2 cup of the hot liquid and stir constantly over medium heat until the liquid has evaporated.  Add another 1/2 cup and continue adding 1/2 cup of liquid as each evaporates.  Continue to add stock and water until it is fully cooked.  When it is cooked it will form a sticky ball as it is stirred.  It will have a ticker consistency than risotto you would serve on its own.

*It is very important to have the liquid hot when adding it to the rice.  If it is cool or room temperature liquid you will have sticky, and improperly cooked risotto.  It’s an extra step but it is important to the texture of the rice.

While it is still hot put the risotto in a food processor or food mill.  Grind it until fine.  Place the polenta in a clean sauce pan, and set over low heat.  Stir in the ground risotto. Remove from heat and add mascarpone and butter until combined.

Place 1 1/4 cups corn juice in a small sauce pan.  Stirring constantly heat the corn juice to 180 degrees Fahrenheit.  Make sure you are stirring the corn juice constantly otherwise it will scorch and burn on the bottom of your pan. Remove the corn juice from the heat and stir into the risotto/polenta mixture.  Mix until all elements are combined.  Taste the filling you can add salt and pepper here if you wish.

Roll out the agnolotti.

Roll out the pasta dough into sheets.  If you are using a pasta roller, roll them to a 5.  Lay the pasta sheet on a lightly floured surface.  I like to use my wooden cutting board (makes it less messy).  Place the filling in a piping bag.  If you don’t have a piping bag you can use a large zip lock bag to pipe out the filing.  Cut the tip of the bag so that you will have 1/2 inch tube when you pipe out the filling.

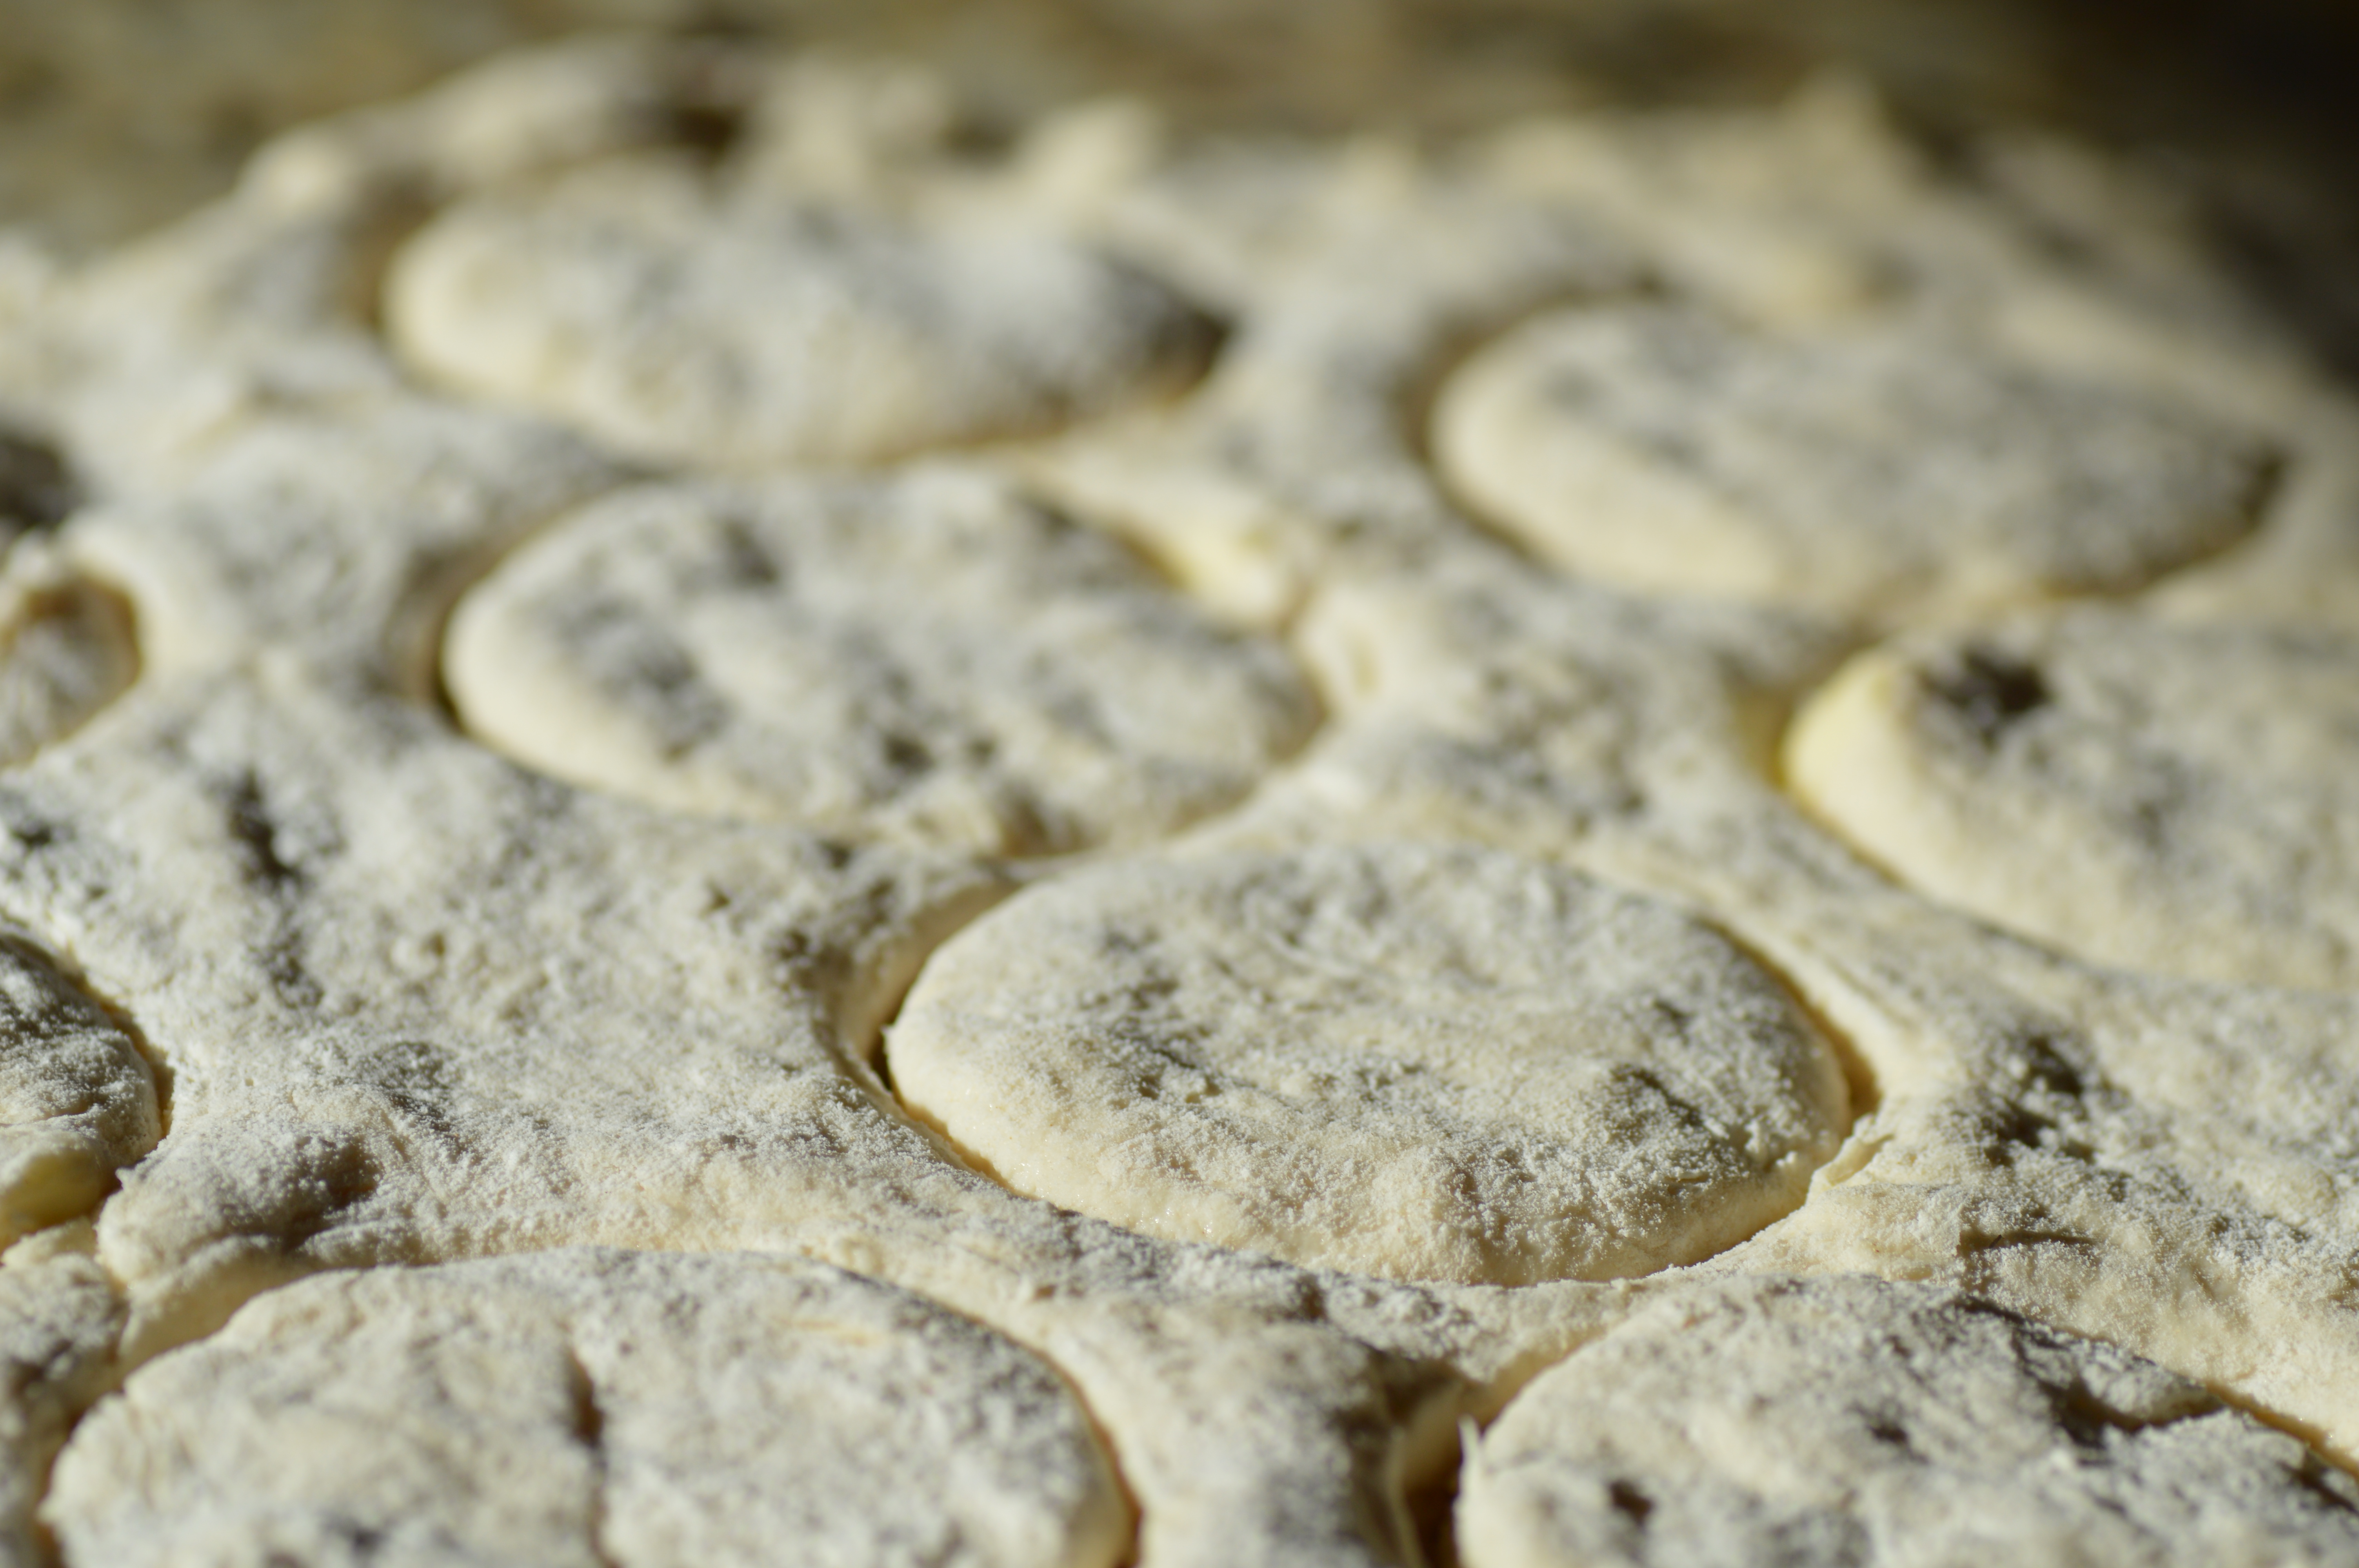
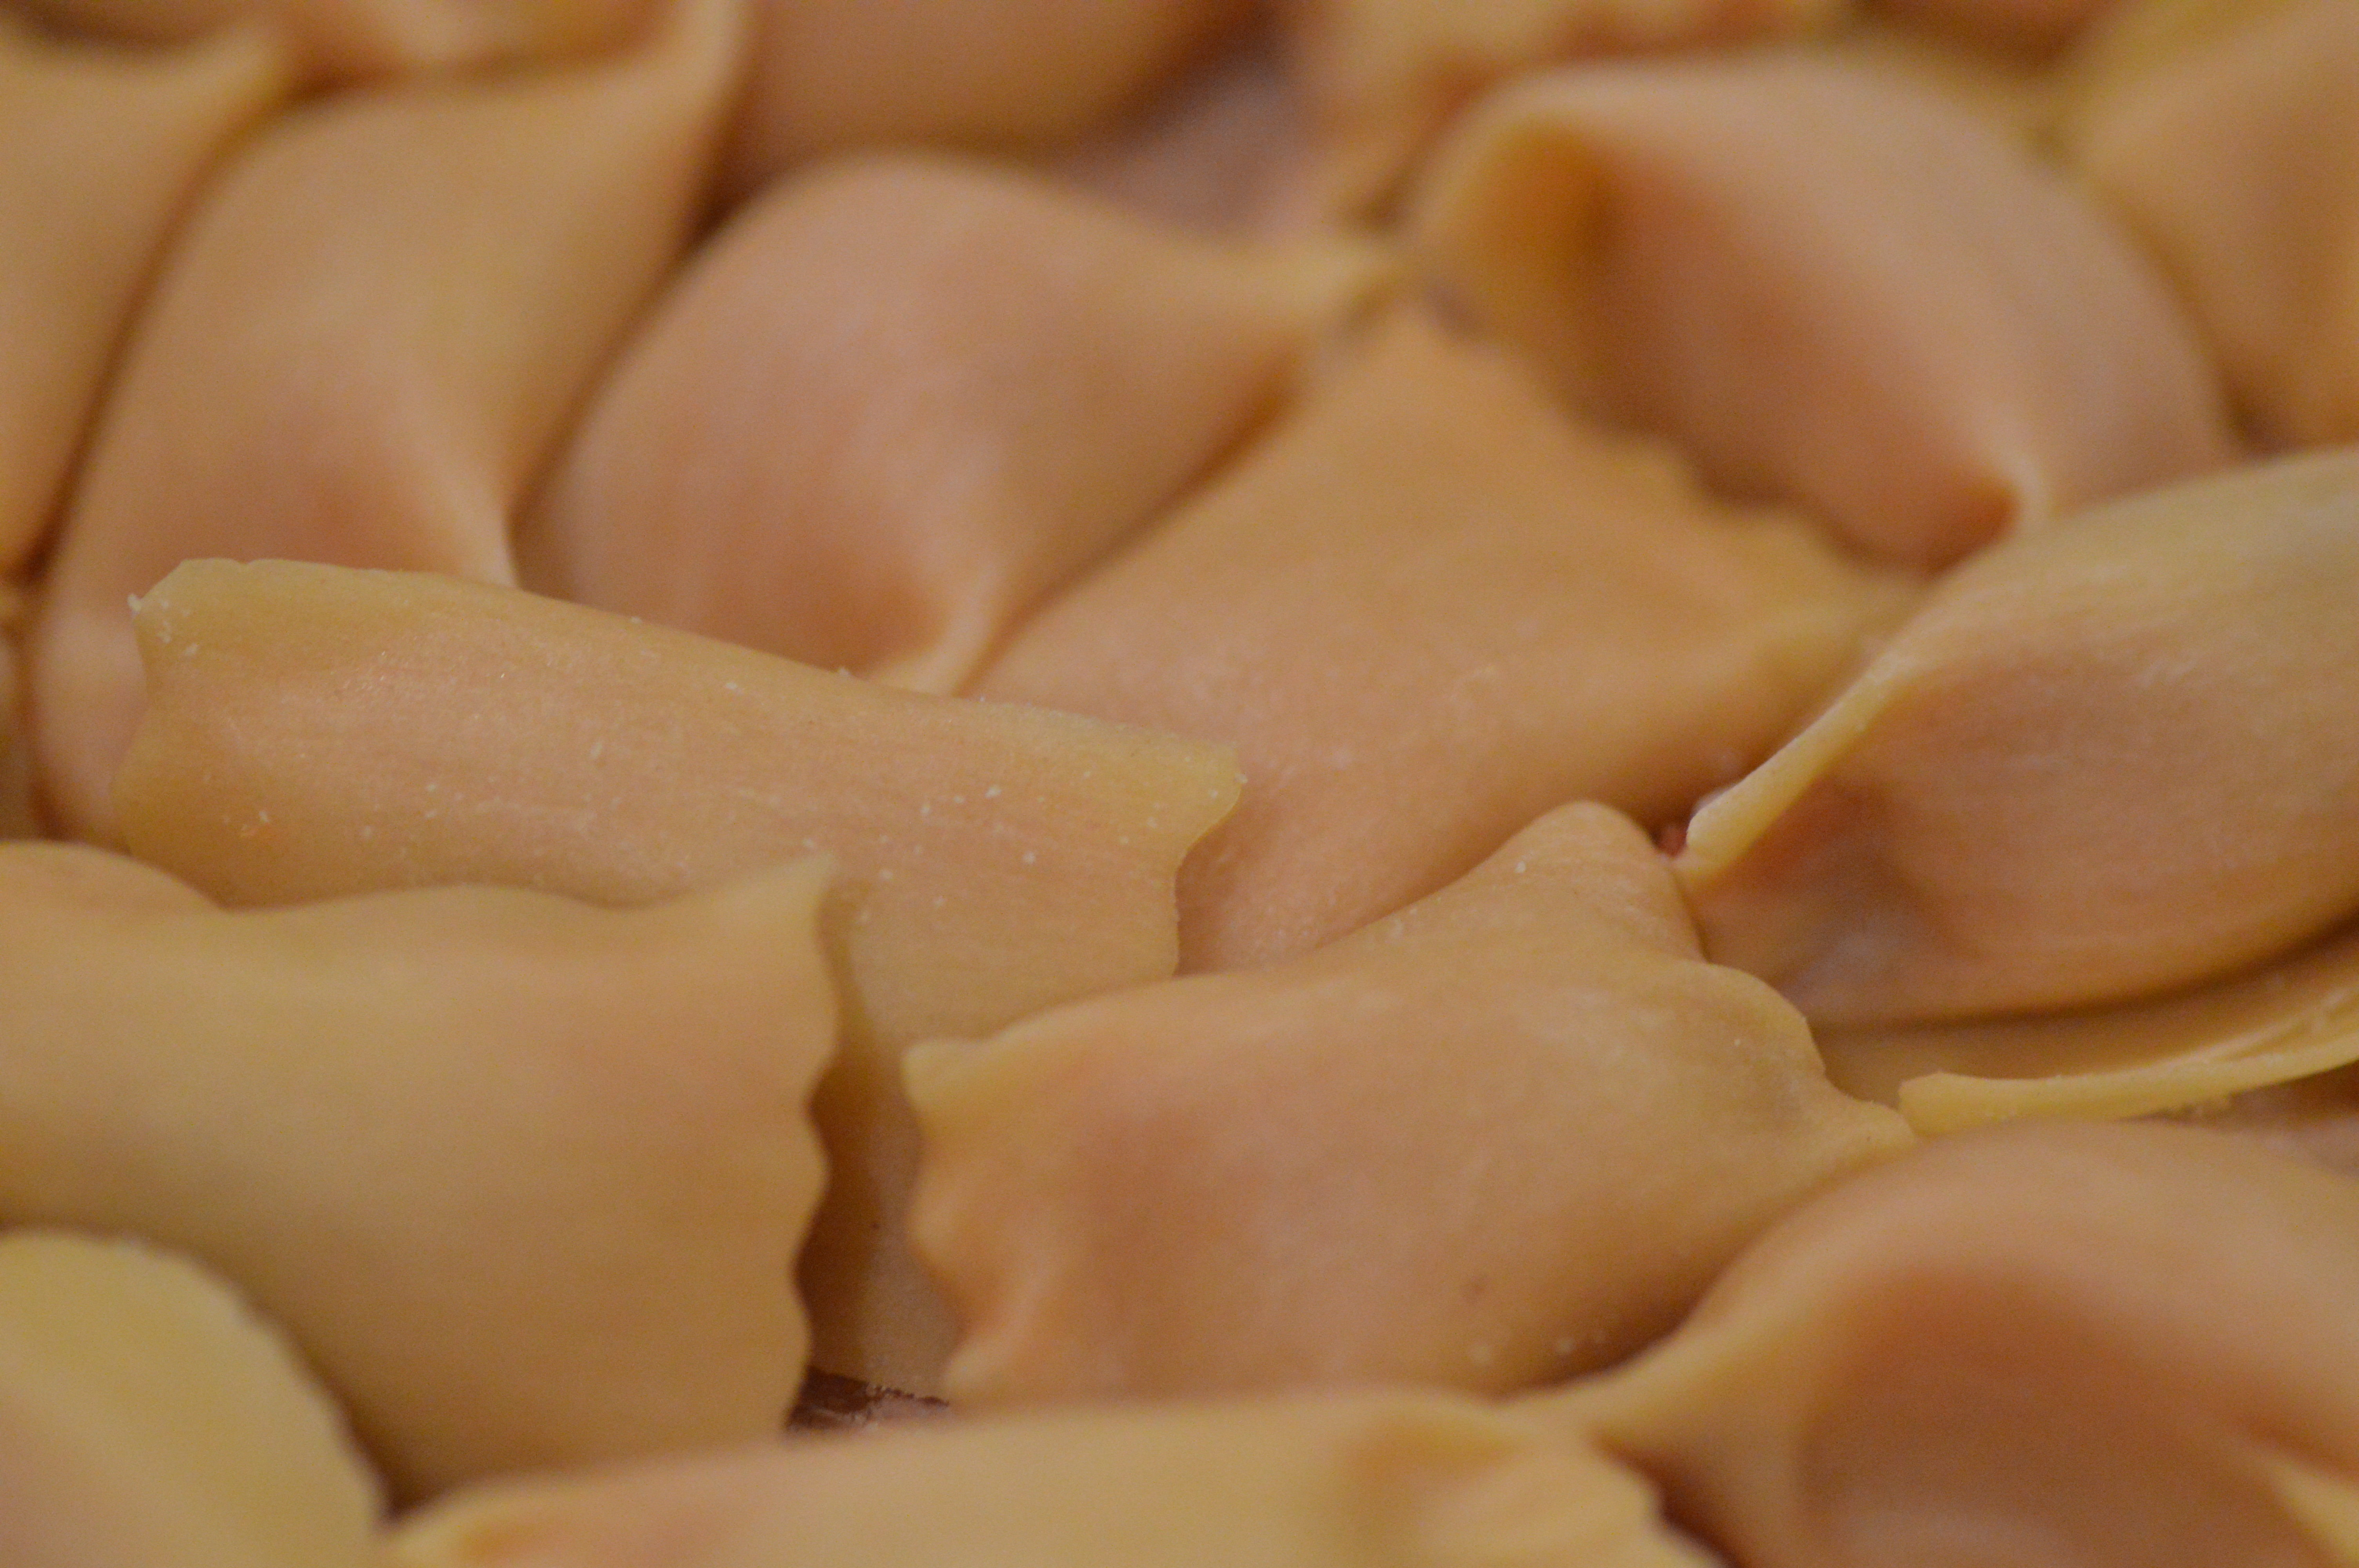
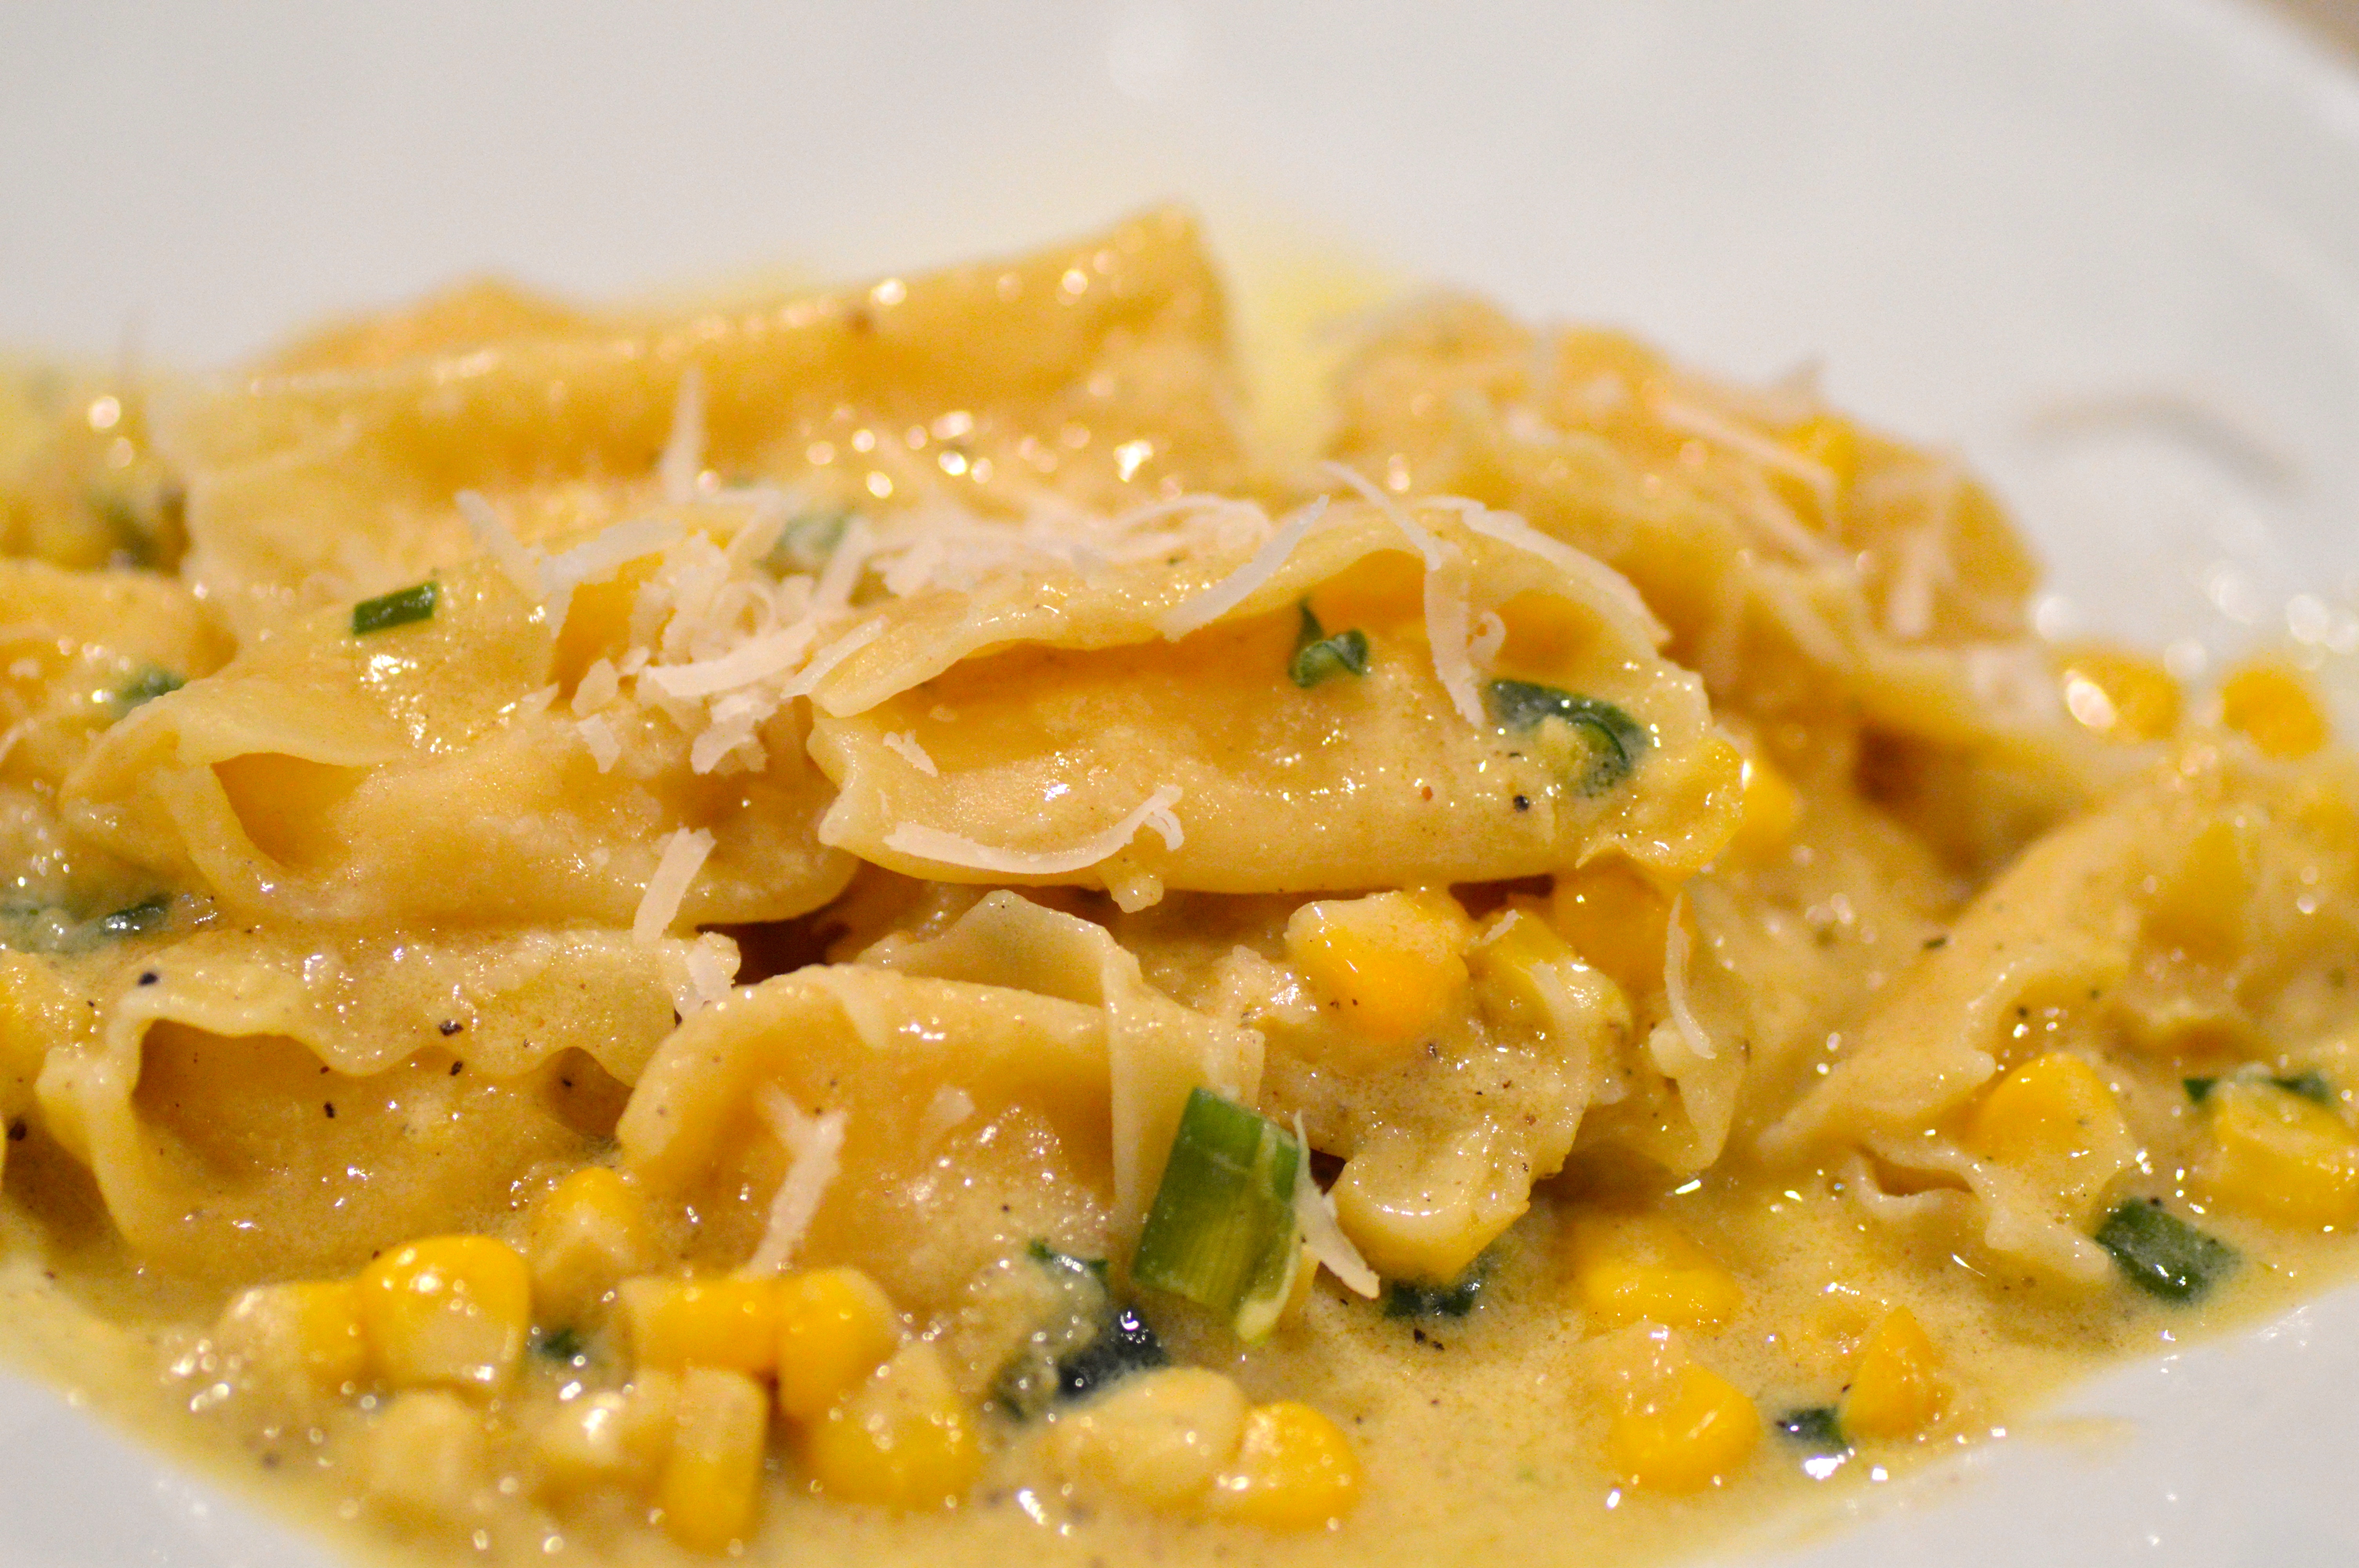
Pipe a tube of filling along the long side of the pasta sheet.  Leave 3/4 inch border of pasta along the top.  Pull the bottom of the pasta and roll it up and over the filling.  Seal the pasta by carefully pressing with your index finger to seal the edge of the dough to the pasta sheet. When it is sealed you will have approximately 1/2 inch excess pasta this is what you want.  Seal the left and right ends of pasta.  To shape the agnolotti place your thumb and index finger on either side of the pasta and pinch.  Pinch together the pasta every inch.  Using a crimped pasty cutter, cut the pockets of the filling apart but running the cutter where you pinched.  Make sure to leave enough pasta on either side of the agnolotti so they don’t come unsealed.  Dust the agnolotti with semolina flour or regular flour if you are not cooking them right away.  This will keep them from sticking together.  (The image below is what the shape of agnolotti should look like)

DSC_0500_2

For the corn sauce

In a small sauce pan boil  the 2/3 cup reserved corn kernels until cooked.

Place 2 cups corn juice in a sauce pan over medium heat.  Stir constantly while heating to 180 Degrees Fahrenheit.  Add the butter and whisk until completely melted. Add the cooked corn kernels.  Add salt, pepper and white truffle oil to taste.

To finish the dish cook the agnolotti in lightly salted boiling water.  Cook for 4 to 5 minutes or until they float to the top of the boiling water.  Drain the agnolotti and top with the sauce and shavings of Parmesan and finely minced chives.

I truly hope you enjoy this dish,  not only enjoy eating it but enjoy making it!  This dish for me is love.  I cook it for my husband because he loves it and seeing him enjoy something that I cooked for him makes me so happy. Of course I love this dish too!

Open up a bottle of white wine,  we typically enjoy this dish with a nice oaked Chardonnay.  It will pair so nicely!  Plus you deserve a glass of wine after cooking this dish!

~Cheers

DSC_0114_2


Leave a comment

Posted by on April 8, 2014 in Uncategorized


Tags: , , ,

Quick Easy Delicious Banana Pudding

Awhile back we had dinner with some friends and for dessert she made this banana pudding and I have been hooked ever since. Now this is not your traditional banana pudding that you cook and that has the big fluffy meringue.  That’s for another day!  This recipe is so quick and easy and it makes a ton!  You will have a 9×13 casserole dish full of fluffy banana pudding.  It’s perfect for any cook out or family event, or even to satisfy the pregnancy cravings I have been getting lately! I don’t think I have met anyone who doesn’t like this banana pudding recipe!

DSC_0010

Ingredients:

1 (8 ounce) package cream cheese
1 (14 ounce) can of sweetened condensed milk
1 (3.4 ounce) box of instant french vanilla pudding mix
1 (3.4 ounce) box of instant banana cream pudding mix
3 cups cold milk
1 teaspoon vanilla extract
1 (8 ounce) tub cool whip
6-8 bananas sliced
2 – 3 boxes Lorna Doone cookies

Directions:

In a large bowl or in the bowl of a stand mixer, beat the cream cheese until fluffy.  Beat in condensed milk, both pudding mixes, cold milk and vanilla.  Mix until smooth.  Fold in cool whip.

Line the bottoms of a 9×13 baking dish with cookies.  I like to have more of a crunch to mine so I put the cookies going up the side of the dish too.

DSC_0002

Arrange banana slices evenly over cookies.  If you like more bananas like me you can put two layers.  Spread the pudding mixture over the bananas.

DSC_0006

Then top with additional cookies.  Cover your dish with plastic wrap and chill.  The banana pudding is best the next day so I make it the night before I plan on eating it.  But if you just can’t wait go ahead dive in!

I hope you enjoy this quick and easy recipe!

~Cheers


Leave a comment

Posted by on April 3, 2014 in Uncategorized


Tags: , , ,