RSS

Tag Archives: Homemade

Creamy Spinach Artichoke Dip

I love spinach artichoke dip!!  I have tried it many different ways at many different places and this is my favorite recipe yet!  These pregnancy cravings are starting to get a little crazy.  One minute  I want chocolate milk and the next well you guessed it… spinach artichoke dip.  Not at the same time of course that would not be good.  A plus side to this is that spinach is SO SO good for you and ladies if you are pregnant it gives you a boost of folic acid!  So even with all the cheese and cream in there you are still getting some good stuff!!

Most recipes you look for online have mayonnaise in the them.  I have tried one or two of those and I really didn’t enjoy them.  So what I have done it taken different recipes, added my own touch to them and come up with what I think is one of the best spinach dips I have ever had!  I use fresh spinach instead of frozen.  You can use frozen if you want to.  If you are using fresh spinach just remember that it shrinks down a lot so what may look like at lot when its raw won’t amount to a lot when it is cooked.

DSC_0111 
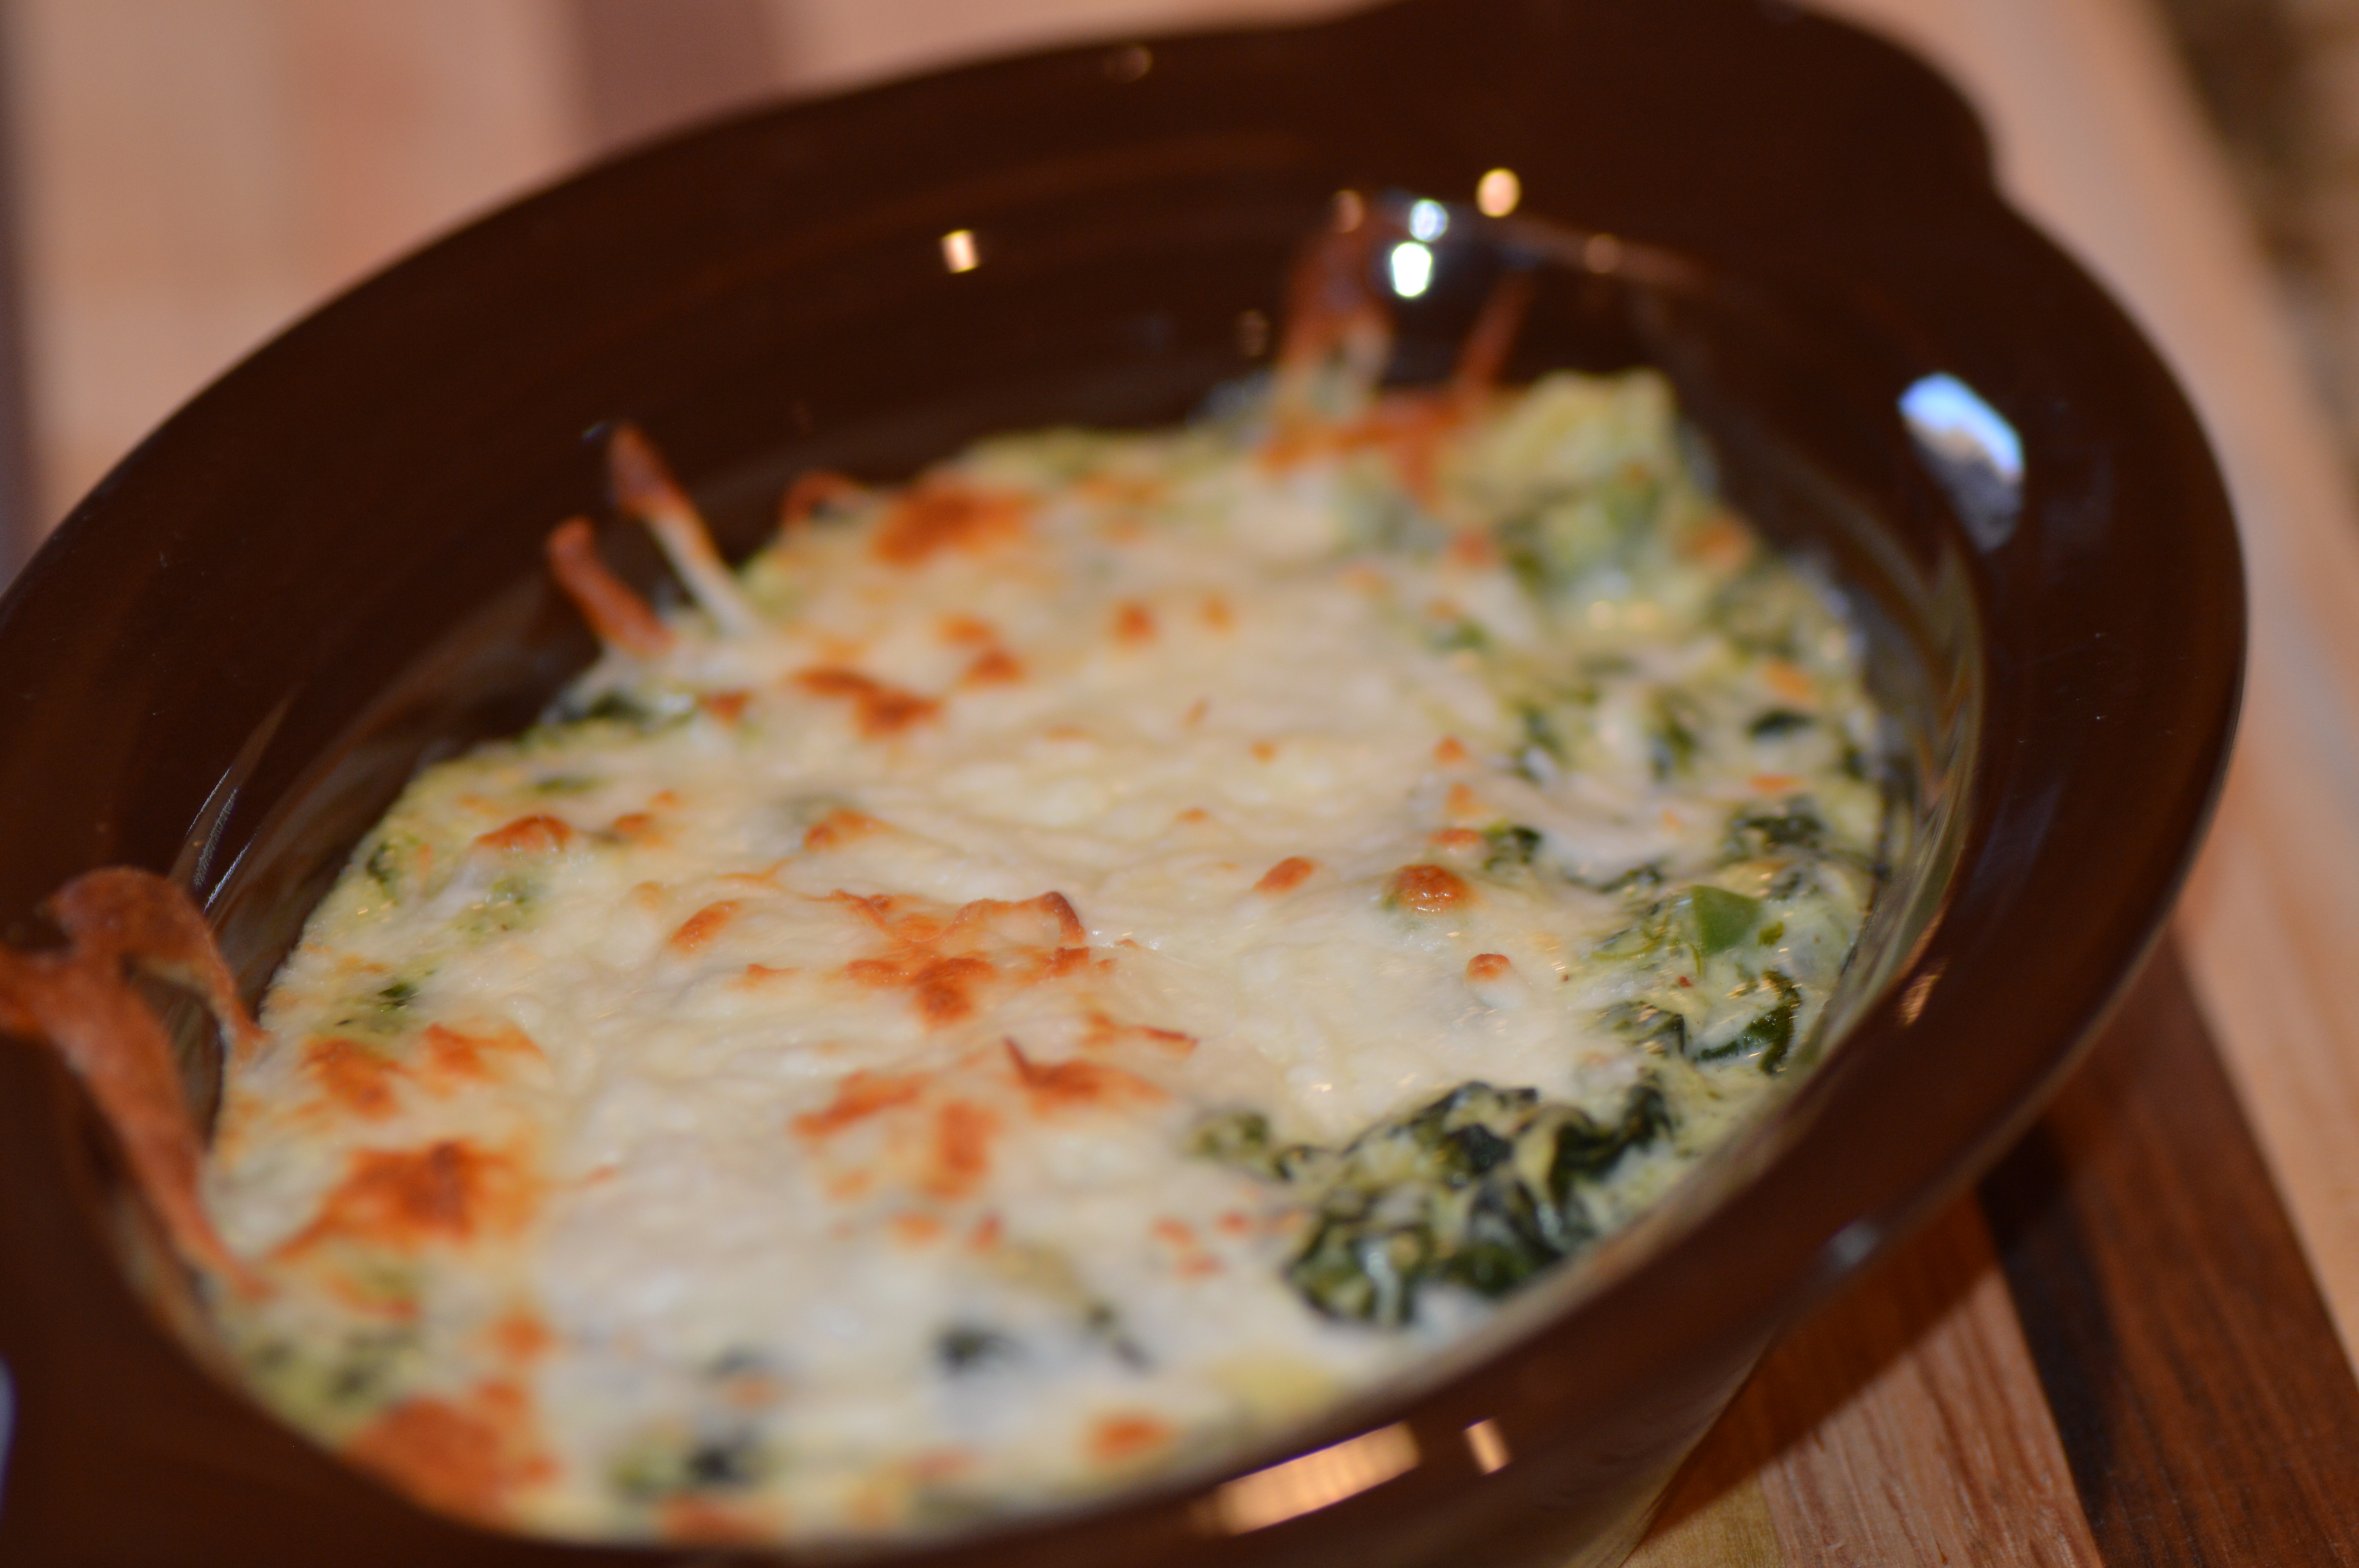
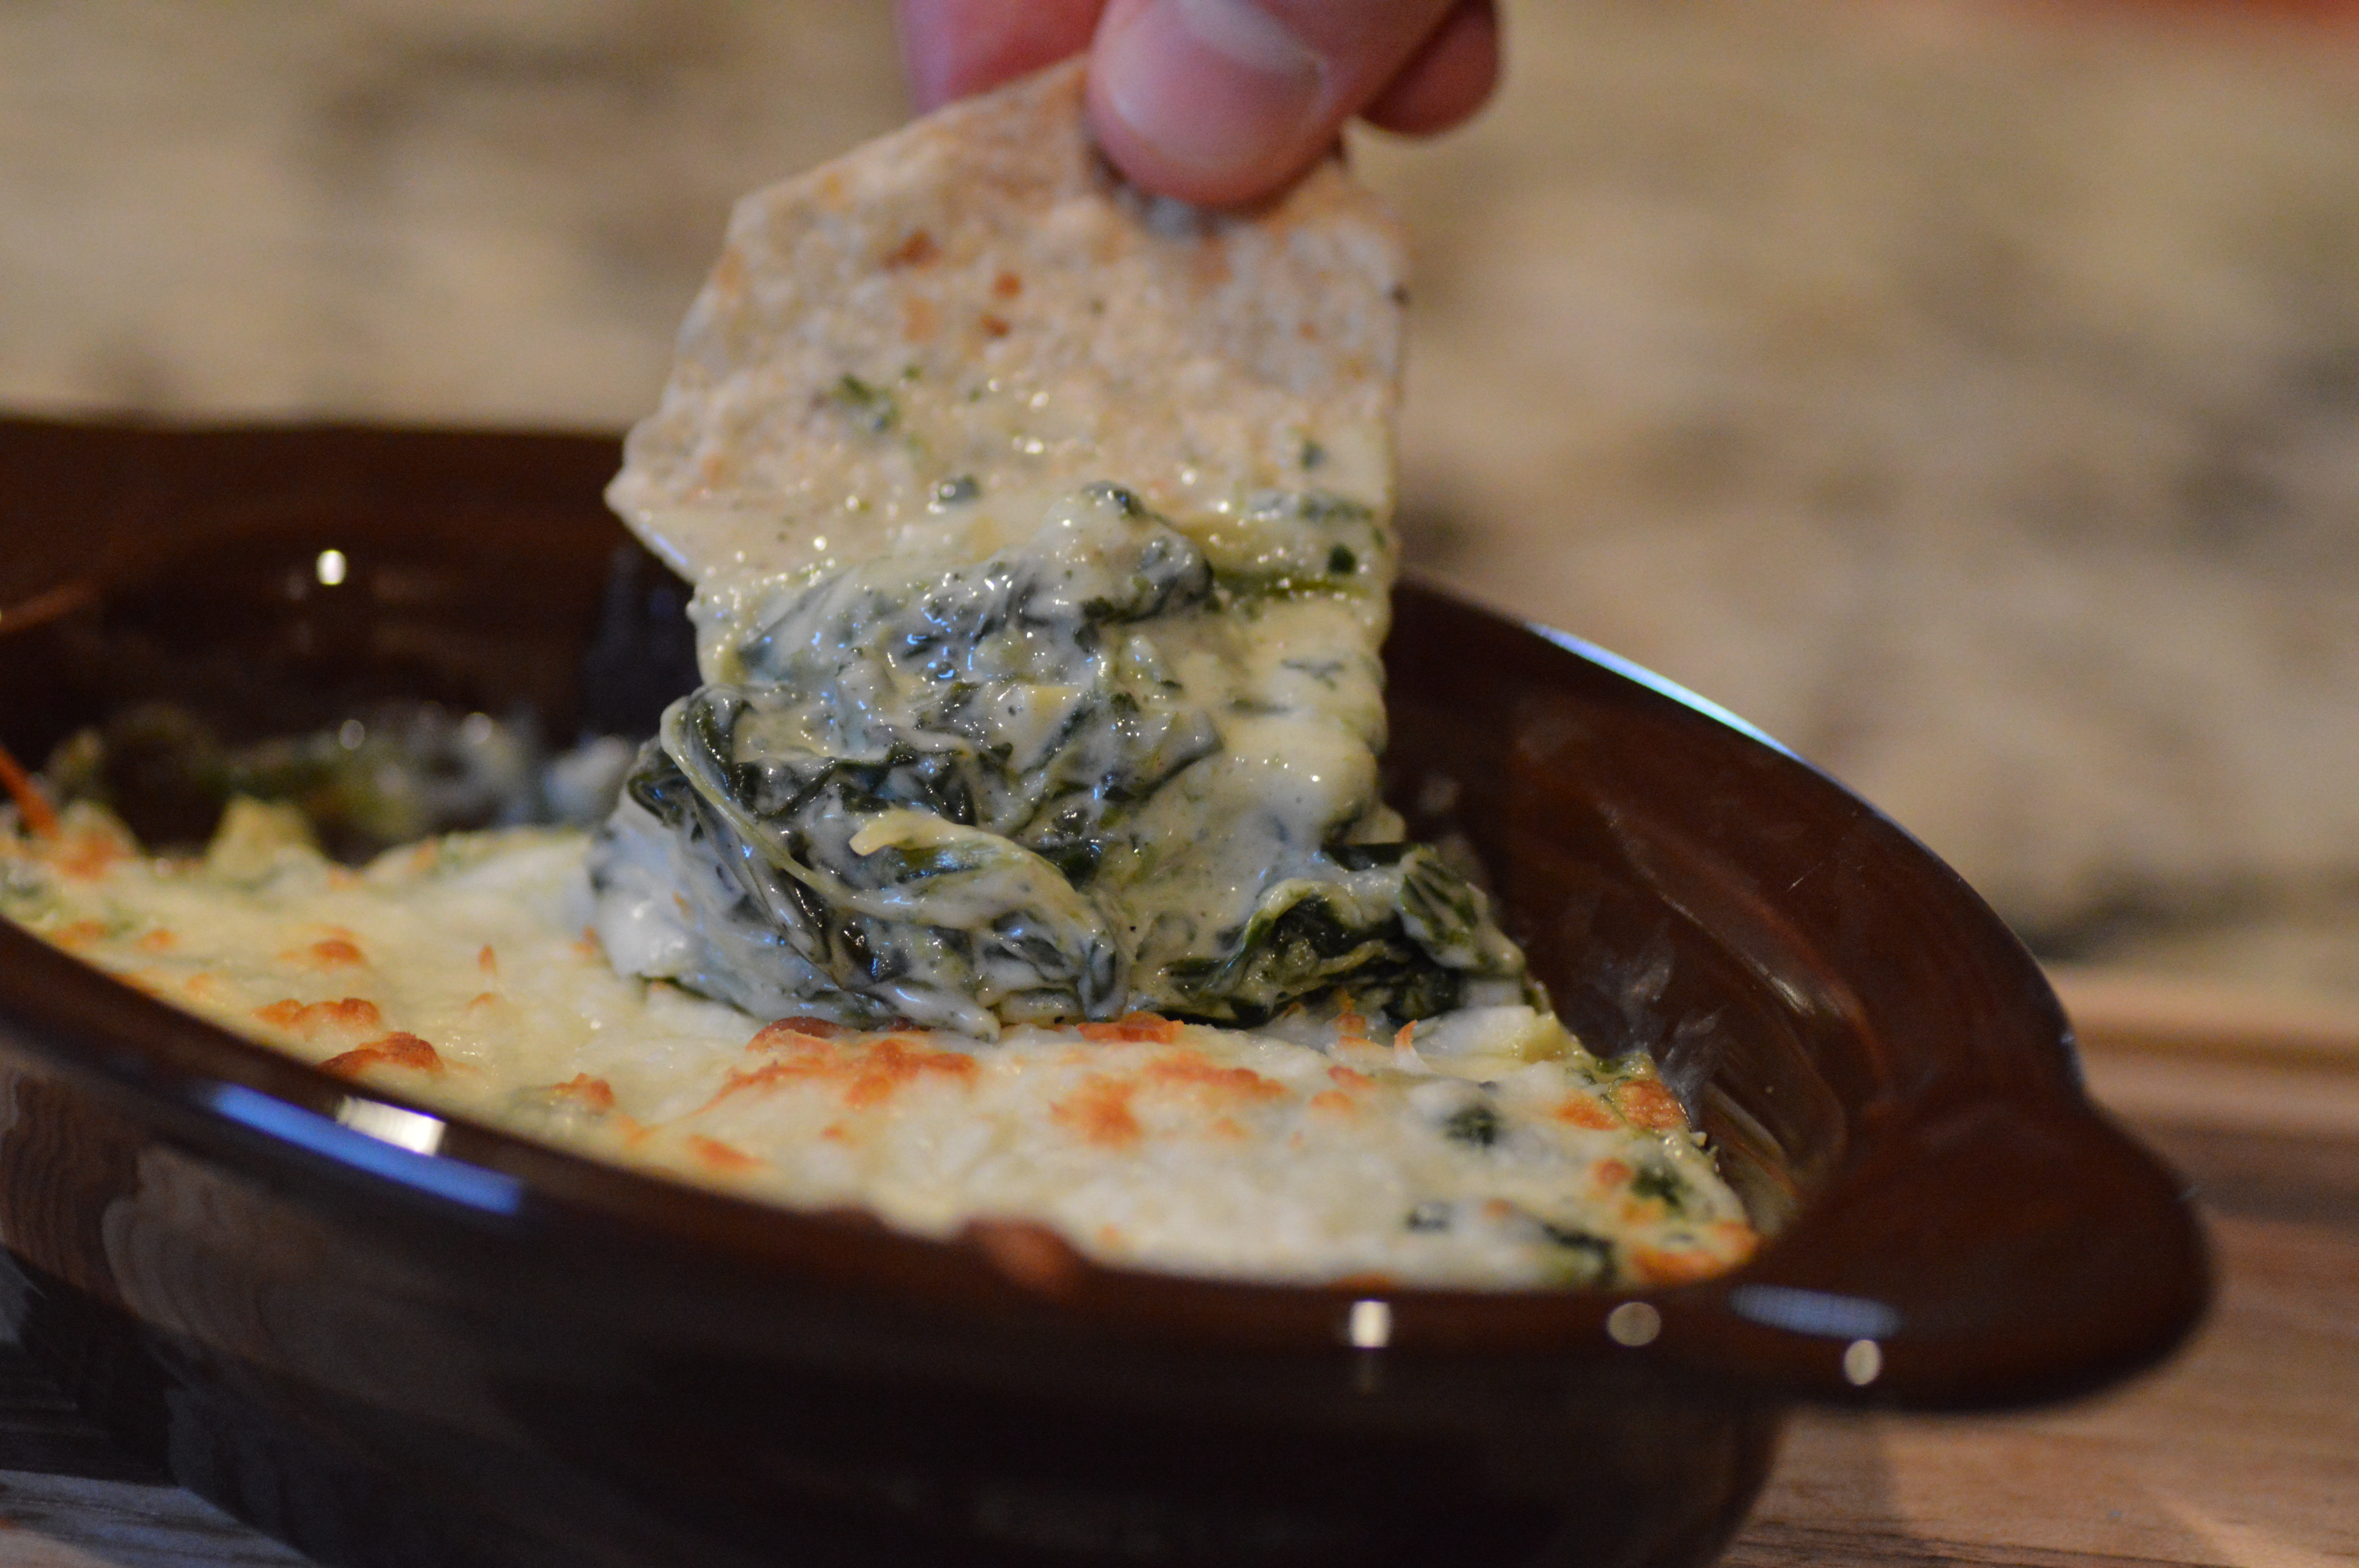
Doesn’t that look yummy!!

Ingredients:

20 ounces cooked (or frozen) spinach drained
1 14 ounce can artichoke hearts drained and chopped
1 10 ounce jar Alfredo pasta sauce
1 cup shredded mozzarella cheese plus more for topping
1/2 cup grated parmesan cheese
1 8 ounce package cream cheese softened
2 cored and chopped jalapeno (more to taste)
1 medium tomato diced *optional
Garlic powder to taste
Salt and Pepper to taste

Directions:
In a large pot cook spinach and drain. Put the spinach back in the pot and combine all the ingredients over low heat just until everything comes together. Taste your mixture and add salt, pepper, and garlic powder to your liking. Now if you are feeding several people and need to bake all of your spinach dip pour the mixture into a large baking dish 8×8 usually holds all of the dip and bake in a 350 degree oven until bubbly hot. Top the mixture with mozzarella cheese and put back into the oven until melted and starting to brown.

OR if you want to warm up just a little at a time you can bake them in smaller dishes such as ramekins. Your cooking time will be much less. I personally like making this full recipe and then warming it up in small servings as I get a craving!

DSC_0101

Your spinach dip can be eaten with chips or with slices of baguette, or whatever you like!! I hope you enjoy this dish!
We love it at my house!

~Cheers!

 
Leave a comment

Posted by on June 14, 2014 in Uncategorized


Tags: , , , , ,

Zucchini Bread – So Delicious

I truly love to bake!  Even more now that I am pregnant and I get these cravings.  I love zucchini bread and have for a long time. I made some the other day for National Zucchini Bread Day (yes there is a day) and it turned out so good I pretty much ate the entire loaf.  You can eat it for breakfast, a snack or for dessert yummy!  I am getting hungry as I type.  The original recipe I found was from Paula Deen and I changed some things up to make it my own.  I hope you enjoy it as much as I do.

This recipe makes two loaves so you can give one to a friend or have more for yourself!

DSC_0078

Ingredients:
3 1/4 Cups All Purpose Flour
1 1/2 Teaspoons Kosher Salt
1 Teaspoon Fresh Ground Nutmeg
2 Teaspoons Baking Soda
1 Teaspoon Ground Cinnamon
3 Cups Sugar
1 Cup Vegetable Oil
4 Eggs Beaten
1/3 Cup Water
2 Cups Fresh Grated Zucchini
1/2 Zest From Lemon
1 Teaspoon Lemon Juice
1 Cup Chopped Walnuts or Pecans

Directions:

Pre-heat oven to 350 degrees F.  Grate the Zucchini using something similar to a cheese grater (I use my cheese grater) and set aside.

Combine flour, salt, nutmeg, baking soda, cinnamon and sugar in a medium size bowl.  In the bowl of a stand mixer or in a separate bowl combine oil, eggs, water, lemon zest and lemon juice,  and zucchini.  Mix the dry ingredients into the wet ingredients then fold in the nuts.  Bake in two loaf pans sprayed with non-stick spray.  Cook for 1 hour or until a toothpick inserted in the center comes clean.  Let cool and enjoy!!

That is all it takes for this delicious bread!  Super easy and super worth it!  I hope you enjoy this recipe as much as I do.

DSC_0072


~Cheers

 
Leave a comment

Posted by on May 6, 2014 in Uncategorized


Tags: , , , ,

Homemade Pretzel Buns

I am a sucker for a big juicy cheeseburger.  Especially when my husband makes them!  He grinds his own hamburger meat, but that is different post!  I mean look at this burger looks like one out of a restaurant doesn’t it!  Trust me where we live you can’t find a better burger in town!

20131009-121502.jpg

One of the many shows that I like to watch about food is the Travel Channel’s Food Paradise.  We were watching one on burgers and there was a burger place called Kuma’s Corner in Chicago.  These huge burgers were served on pretzel rolls and they looked amazing!  I love love love big soft pretzels so this sparked quite a bit of curiosity on my part!  I had to make my own pretzel roll.  After some searching I found a recipe that works really well and it is fairly simple!  If you like burgers and pretzels I encourage you to try these!  They are so good!

photo (5)

This recipes makes 8 rolls.

Ingredients:

1 1/2 cup warm water (110 degrees F)

1 package active dry yeast

2 teaspoons sugar

4 1/2 cups all-purpose flour

2 teaspoons Kosher salt

4 tablespoons unsalted butter, melted

1/4 cups baking soda

1 whole egg, lightly beaten

Kosher, sea salt, or pretzel salt

Directions:

In a small bowl add the warm water, yeast and sugar.  Stir and let rest 5-10 minutes until foamy.  Make sure your water is 110 degrees.  If it is too warm your yeast will not activate!

In the bowl of a stand mixer fitted with the dough hook, add flour, salt, and melted butter combine well.  Add the yeast mixture and mix until incorporated.  Cover the bowl with plastic wrap and allow to rise in a warm place for at least an hour or until doubled in size.  I always turn my oven on the lowest temperature it will go and let it just get warm then turn it off and let my dough rest in there away from drafts.  About 80 degrees is a good dough rising temperature.  Punch down the dough and turn it onto a lightly floured surface.

Line a sheet pan with parchment paper and set aside.  Cut the dough into 8 equal pieces, they will be about 5 ounces each.  To shape the dough take a piece of dough and start forming it into a round ball by pulling the sides to the center and pinching to seal.  One side of the ball should be totally smooth.

Place the dough balls on the baking sheet pinched side down and let rise for 30 minutes to an hour until they are doubled in size.

Pre-heat oven to 425 degrees.

In a large sauce pan bring 2 quarts of water to a rolling boil.  SLOWLY AND CAREFULLY add the baking soda.  If you put it all in at once it will boil over!

Place the 2 or three rolls in the boiling water seam side down.  Boil for 30 seconds, turn over and boil for 30 more seconds.  Remove and put back on the baking sheet.  Repeat with the remaining rolls.  This will give your rolls the pretzel taste and texture so don’t skip this step.

Using a pastry brush, brush each roll with the beaten egg. Sprinkle each roll with salt and with a sharp knife cut 2 slashes or an “x” in the top of each roll.

Bake the rolls for 15-20 minutes

Serve warm and enjoy!

People loved these buns so much that they were eating them by themselves. Try these for your next cook out you won’t be disappointed!

photo (4)

~Cheers!

 
Leave a comment

Posted by on October 11, 2013 in Uncategorized


Tags: , , ,